You are using an out of date browser. It may not display this or other websites correctly.
You should upgrade or use an alternative browser.
You should upgrade or use an alternative browser.
Boss photos you've taken
- Thread starter chicoazul
- Start date

Reidy's Bottle Of Grecian
The Unobstructed View
Just downloaded 'Trick Photography & Special Effects' makes it sound easy tbh.

If you want to really heat things up, pick up a package of steel wool, tie it to a chain, heat it up, and take long exposures of it spinning around. The sparks go everywhere. A popular composition people use is to spin it inside of a tunnel, because the sparks end up hitting all four sides of the tunnel – Sometimes they even bounce off the walls.
Here is a tutorial on using steel wool, brought to you by Chris Reynolds from Flickr:
Please note I in no way endorse or encourage people in any way, shape or form to do something as fricking cool (sorry - dangerous, I mean *dangerous*) as the following playing with fire. This tutorial is meant for information only and should not be used.
SAFETY FIRSTYou're playing with *FIRE*, people. Steel wool burns pretty quickly so you're generally OK; when it lands on you it'll burn out pretty quick. I've seen huge scatters land on a person and not leave any marks: BUT wear clothes you're not worried about getting burned patches in. Also wear a hood or a hat so it won't get in your hair. Goggles are a good idea, too. I've done a lot of burns and so far have only picked up one small scar on my right hand, but as it says - SAFETY FIRST! DON'T do this in a big patch of dry grass / indoors / amidst a pool of petrol.
What you need:- Steel Wool: fine grade works best, but you can use medium if you wish.- 9V battery (that's the square one) - A length of chain (I've also seen reference to cages forthe end of the chain, but it's not what I use) - A hoodie or a hat (so the steel wool showering down doesn't catch fire in your hair) - Fire extinguisher (for super safety) - Tripod for camera - long exposures, so hand held is not going to cut it - Remote release for the camera if possible but timed exposure will work, too.
As I say - it's a fairly easy job.1 - Cut or rip a length of the steel wool - I use about 40 cm strip for each burn, but the shorter it is, the shorter the burn and vice versa.2 - Tear it up the middle (so it kind of looks like a pair of trousers)3 - Double up your length of chain and wrap the steel wool around the center point. Do this by putting the 'crotch' of the pair of trousers in the center point and then wrapping each 'leg' in counter directions around the chain and each other.TECHNIQUE: Experiment a bit with different knots in the wool, teasing out little bits into tapers that stick out, wrapping the ends around each other; that will give greater / lesser surface area and give you bits that burn faster and slower. That's also how you get 'bombers' - meteor like chunks that come out of the spin.
A second technical point is to use different gauges of steel wool which will burn at different speeds. I normally have some minions - I mean friends - round about and we take turns on the burn / setting the camera off.4 - Get a grip of both single ends of the chain so the lump of steel wool dangles or is lying on the floor (lying is better for control)5 - Have a practice swing - around your head for a nice fan / umbrella or in front / behind you for a portal-like circle of fire. Infinity-spin for extra cool points.6 - Set up camera. A good tip for getting focus is to shine a torch on yourself and use that to get auto-focus to work, then switch to manual.TECHNIQUE: Best way forward is with a wider frame. You can always crop it - I'm pretty sure even the most rabid Straight-Out-Of-Camera allows for crops. That said, a frame full of fire can be pretty cool too. Experiment...7 - Either trigger the release yourself, or get your minion / friend to do it.TECHNIQUE: Aperture and shutter speed are variables. With most light painting, fire, torches, whatever, it depends on the environment - whether it's lit already or in darkness. A general note is that the higher the aperture, the thicker the lines of fire will be. I'd go ahead and experiment. White Balance alters the fire lines from yellow to white, dependent on how warm / cold you have. Tungsten's a good setting if you want mostly white, Shade or Cloud for yellow.8 - Take the 9V battery and stroke the contact points along the wool. It should start to spark almost instantly and then burn slowly.9 - Being careful and *thinking about what you're doing* - swirl it around. The faster you spin it, the further the sparks will fly and the harder it'll burn; it's the spinning part that feeds the steel wool oxygen and makes it burn quickly.
Trick Photography and Special Effects - 14.14.2011 - Copyright 2011 Evan Sharboneau – Page 48
TECHNIQUE: The actual burning lump of wool usually shows up as a thicker yellow line in amongst the scattering shards of wool. I've used that to reasonable effect:
10 - Close shutter at appropriate moment, usually when burn is finished.11 - View the photo, think, "That's awesome", jump up and down and shout "Again, again!" *Note that the bit of chain will still be pretty hot in the middle.*TECHNIQUE: Location, location, location. Burns can look kind of same-ish, so go hunting for some awesome locations. Water is extremely cool as it gives great reflections of the fire (plus it's got the whole 'elemental' theme going for it. Tunnels or more enclosed places are also cool as you get bounce back from the sparks. Enjoy and play safe! REMEMBER - IT'S ALL FUN AND GAMES UNTIL SOMEONE LOSES AN EYE.
Tip: You can always change the colors of the sparks inside of Adobe® Photoshop® software by going to Image > Adjustments > Hue/Saturation. In addition to that, you can also create a new layer on top of the layer of the original photograph and add a colorful gradient filling it up, and then set the Blending Mode to Color or Hue.
sounds like a piece of pish
'Tis the season, cicadas...this wall was covered with them (well, their shells), probably 100+.

Woolly Blue
Player Valuation: £80m
Where is that mate ?
It looks boss. I can hear my boots calling me now ... wear me, wear me.
D
Deleted member 28206
Guest
I love these Mcb.
Miridae:The large and diverse insect family Miridae contains the plant bugs, leaf bugs, and grass bugs, and may also be known as capsid bugs.
This particular one seen here peeping around the corner of a leaf on my lycesteria formosa shrub, and also traversing it (so you can see more of the insect) is Heterotoma planicornis, which is about 6mm long.
A windy day in the north west today, so a little help was needed with a clothes peg to try and keep the leaf steady!
Copyright: Paul Iddon - A View of the UK


Paul.
This particular one seen here peeping around the corner of a leaf on my lycesteria formosa shrub, and also traversing it (so you can see more of the insect) is Heterotoma planicornis, which is about 6mm long.
A windy day in the north west today, so a little help was needed with a clothes peg to try and keep the leaf steady!
Copyright: Paul Iddon - A View of the UK
Paul.
[h=5]Contemplating selling my 5D Mk2 + 17-40L lens... I don't shoot landscapes so lens is redundant and I want to go back to a cropped sensor. Camera has only approx 2,200 actuations.... If anyone is interested, cash preferred, I'm in Preston...[/h]
Here is a small white butterfly (Pieris rapae) on a dandelion flower. The black background helps it to stand out a bit - no flash used, just adjusted levels to get the darker background like it is. Two extension tubes on the 100mm macro lens.
Photographer: Paul Iddon
Copyright: Paul Iddon - A View of the UK

Paul.
Photographer: Paul Iddon
Copyright: Paul Iddon - A View of the UK
Paul.
I had a quick ride out on Sunday - which means i was further from the garden than usual - and went up to the Ribbleshead Viaduct in Yorkshire with a couple of friends.
Ostensibly, just to play with the camera with some reasonable view, but by a stroke of genius timing (that means pure luck) the steam train was due to arrive minutes after we arrived on the grassy slopes of the nearby hills.
I don't do much in the way of landscapes, and certainly don't do much in the way of trains, but here are the two combined.
Found this fly late this evening - virtually dark in the garden at the time, so I had to use a torch just to try and achieve any sort of focus, but of course having to use the flash meant the light was a bit harsh as well. Still, never the less, I persevered and edited the file as well as I think I could have done.
The fly is just hanging around on the underside of a leaf, presumably waiting there until the morning when it will be able to see where it is and fly away!

Paul.
The fly is just hanging around on the underside of a leaf, presumably waiting there until the morning when it will be able to see where it is and fly away!
Paul.
Last edited:
D
Deleted member 28206
Guest
Always difficult following Bilbo... But

Cheers Bryan - nice spot you have here, would look great in autumn when the colours change.
In For The Kill.... Amazing scenes! My grab shots of that damned murderous wasp - this time on a leaf just near the rose and on the rose. Man is this little bugger having a feast? At least 2 hover-flies it's had today that I have seen it take!
Exif:
Camera Maker: Canon
Camera Model: Canon EOS 5D Mark II
Lens: EF100mm f/2.8 Macro USM
Image Date: 2013-08-07 17:44:01 +0000
Focal Length: 100mm
Aperture: f/2.8
Exposure Time: 0.0063 s (1/160)
ISO equiv: 640
Exposure Bias: +0.67 EV
Metering Mode: Matrix
Exposure: shutter priority (semi-auto)
White Balance: Auto
Flash Fired: No (enforced)
Orientation: Normal
Color Space: Adobe RGB (1998)
GPS Coordinate: undefined, undefined
Photographer: Paul Iddon
Copyright: Paul Iddon - A View of the UK


The wasp had already today killed two marmalade hoverflies, and when I found it in the rose in the evening again, I think it had probably had it's fill, as it was a little slower in the cooler air, and was perhaps sated foodwise!


Paul.
Exif:
Camera Maker: Canon
Camera Model: Canon EOS 5D Mark II
Lens: EF100mm f/2.8 Macro USM
Image Date: 2013-08-07 17:44:01 +0000
Focal Length: 100mm
Aperture: f/2.8
Exposure Time: 0.0063 s (1/160)
ISO equiv: 640
Exposure Bias: +0.67 EV
Metering Mode: Matrix
Exposure: shutter priority (semi-auto)
White Balance: Auto
Flash Fired: No (enforced)
Orientation: Normal
Color Space: Adobe RGB (1998)
GPS Coordinate: undefined, undefined
Photographer: Paul Iddon
Copyright: Paul Iddon - A View of the UK
The wasp had already today killed two marmalade hoverflies, and when I found it in the rose in the evening again, I think it had probably had it's fill, as it was a little slower in the cooler air, and was perhaps sated foodwise!
Paul.
Last edited:
Torontoblue
Player Valuation: £950k
I had a quick ride out on Sunday - which means i was further from the garden than usual - and went up to the Ribbleshead Viaduct in Yorkshire with a couple of friends.
Ostensibly, just to play with the camera with some reasonable view, but by a stroke of genius timing (that means pure luck) the steam train was due to arrive minutes after we arrived on the grassy slopes of the nearby hills.
I don't do much in the way of landscapes, and certainly don't do much in the way of trains, but here are the two combined.
Real nice composition for a stroke of luck. Nice colours, and the HDR (?) is nicely done.
Reidy's Bottle Of Grecian
The Unobstructed View
Have you got one of after you splatted it ?
Shop
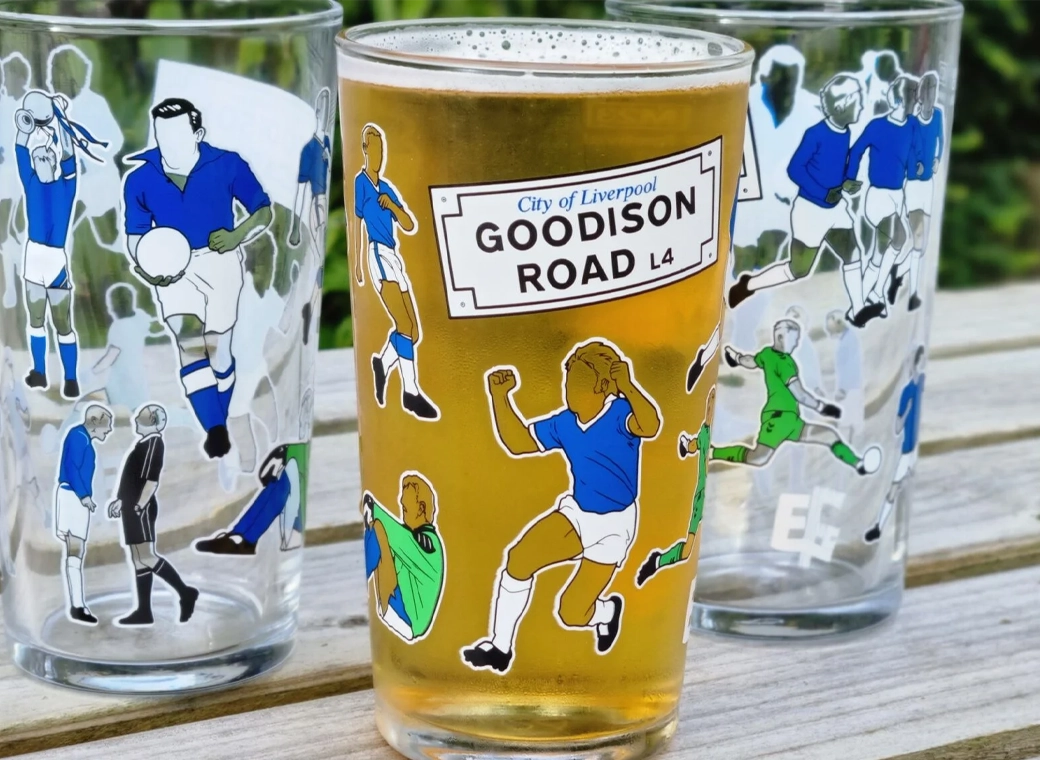
Everton Pint Glass
Our exclusive Everton pint glasses are a true collector’s item that pays homage to Goodison Park through iconic players who have graced the pitch over different generations.
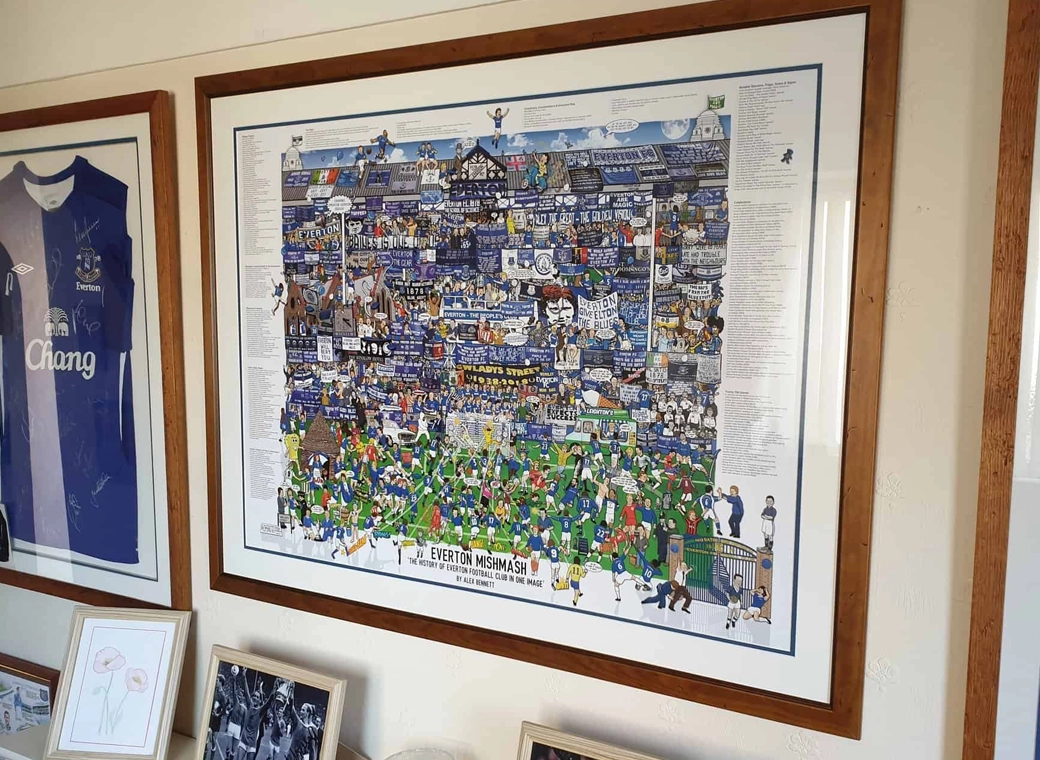
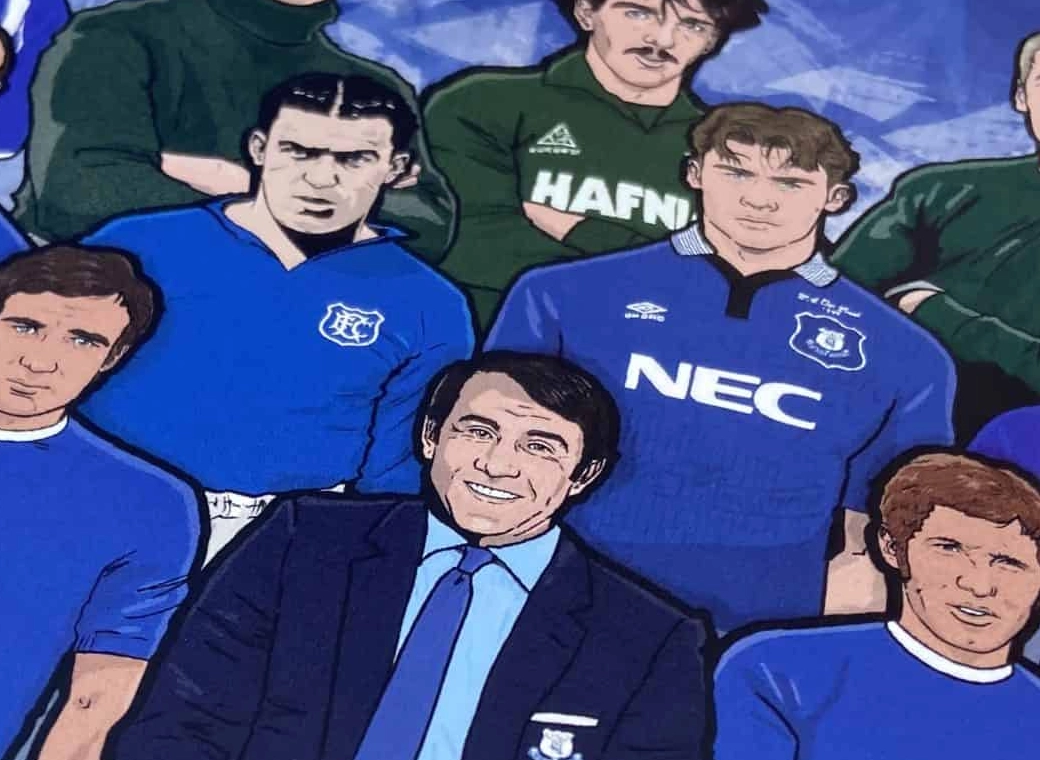
Everton Mishmash
The history of Everton FC in one image! “The best Everton thing I’ve ever got!”
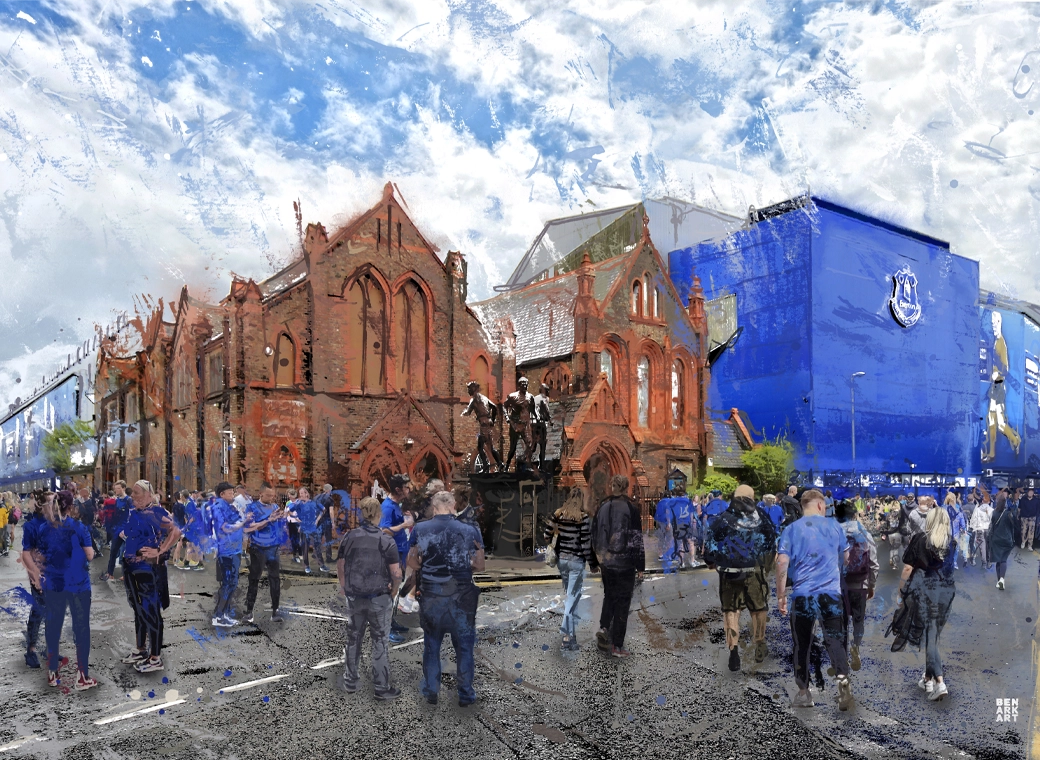
Goodison Park - Blue Skies
A truly, wonderful piece which brings memories of visits to Goodison Park alive.
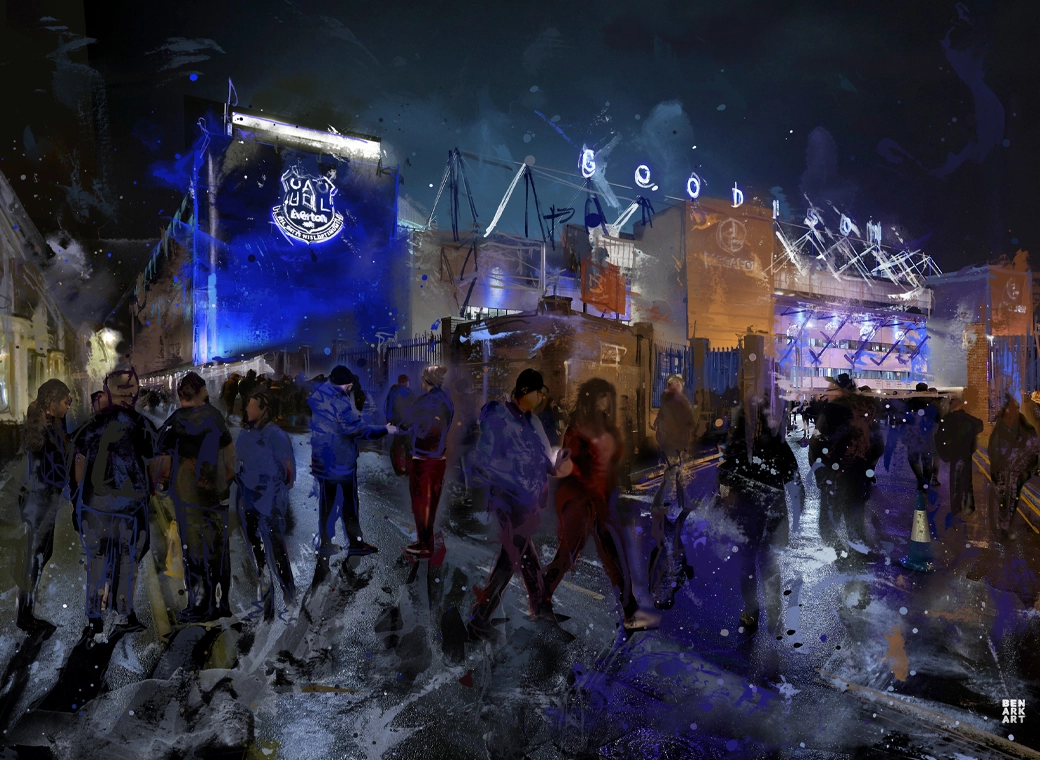
Goodison Park - Under The Lights
This print wonderfully encapsulates the magic of the ‘Goodison Under The Lights’.
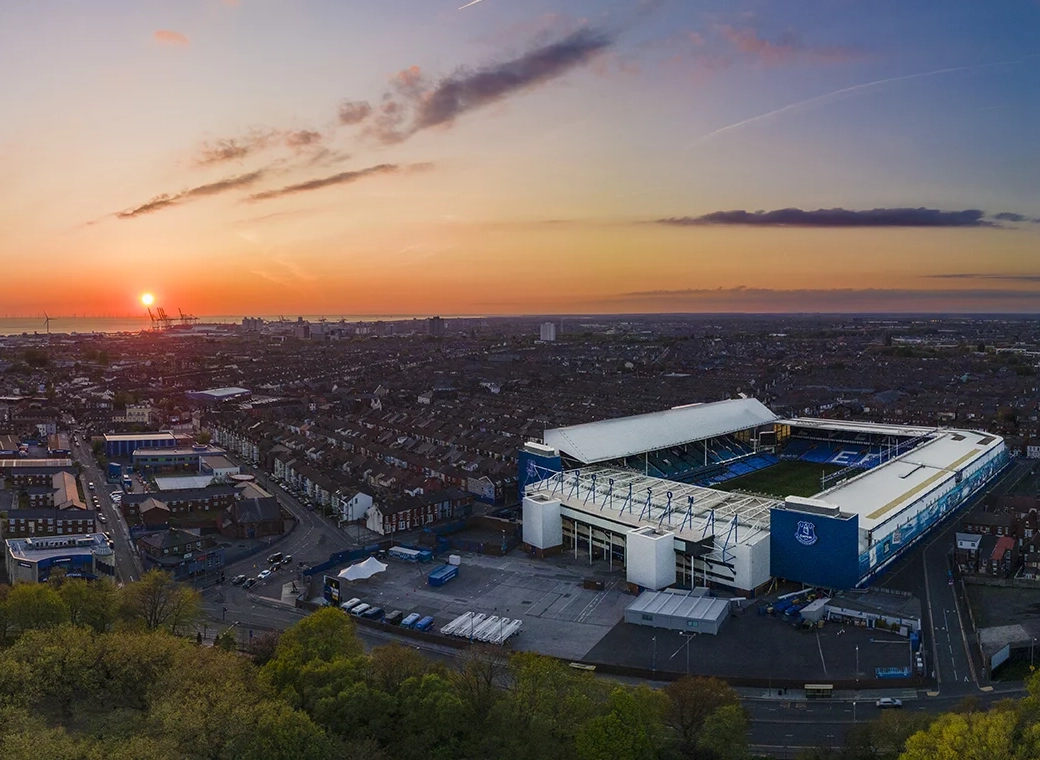
Goodison Park - Sunset
A wonderful, A3 aerial print of Goodison Park.
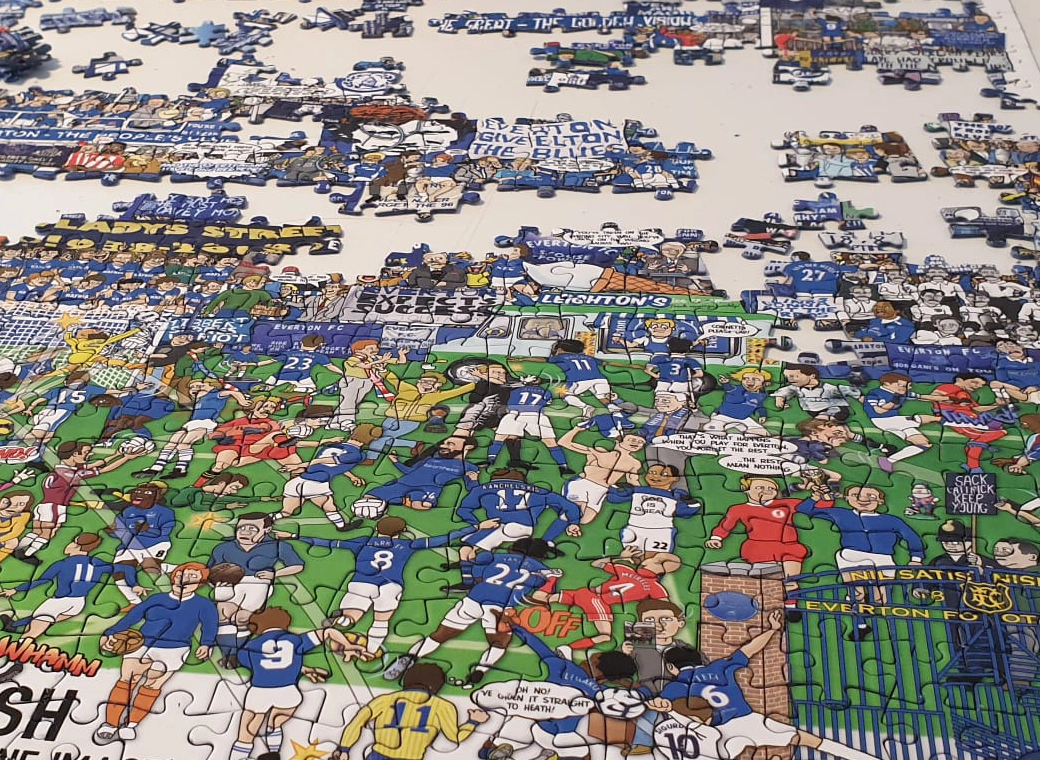
Everton Jigsaw
A special, limited edition 1,000 piece jigsaw of the popular Everton Mishmash – The History Of Everton FC In One Image!
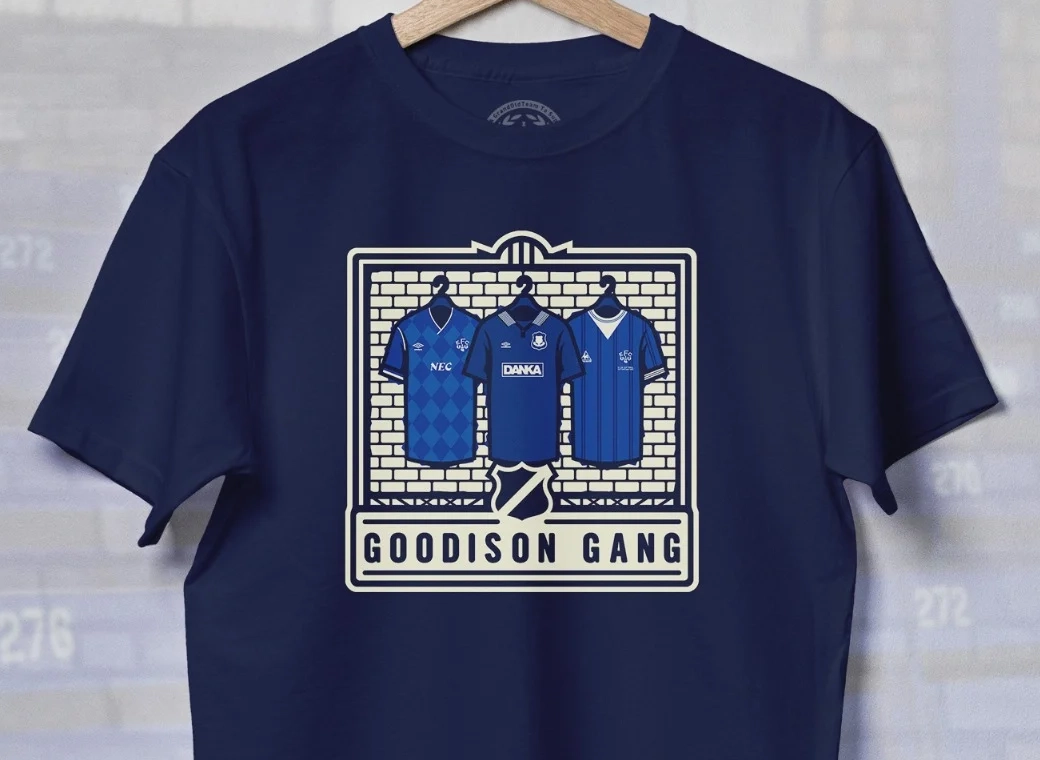
Goodison Gang T-Shirt
Introducing our Goodison Gang Everton T-Shirt.
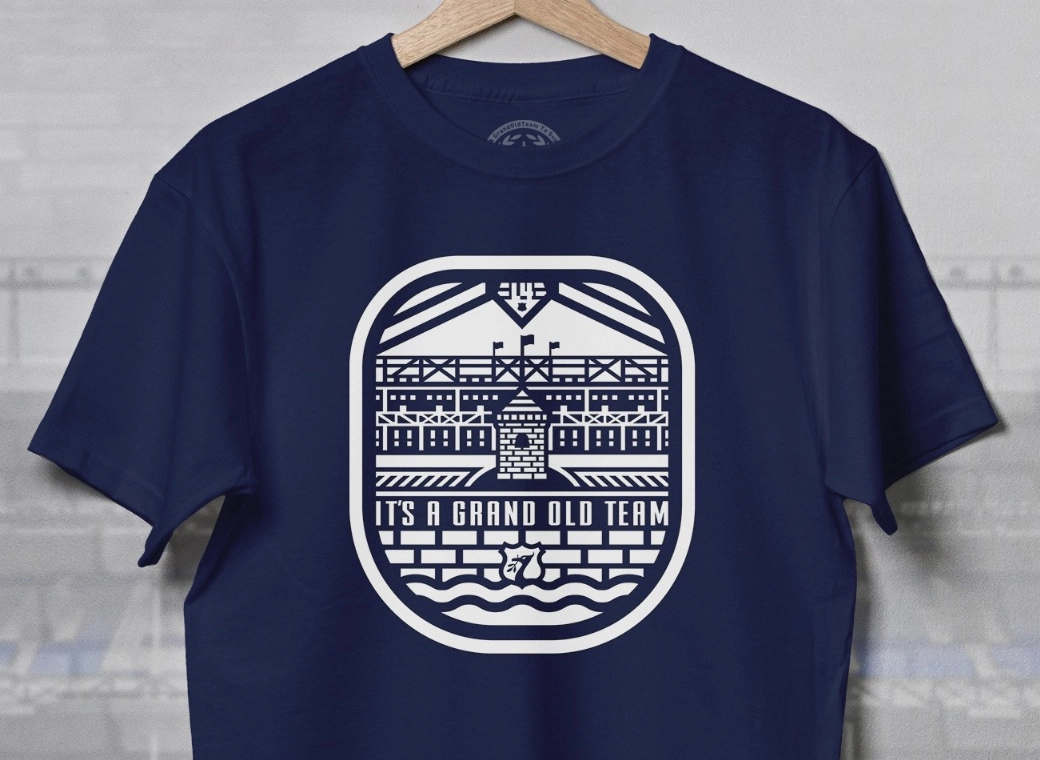
Grand Old Team T-Shirt
Our newest Everton T-Shirt.
Legends of Goodison Park
Everton champions, legends, and long-time servants assembled together in one squad photo!